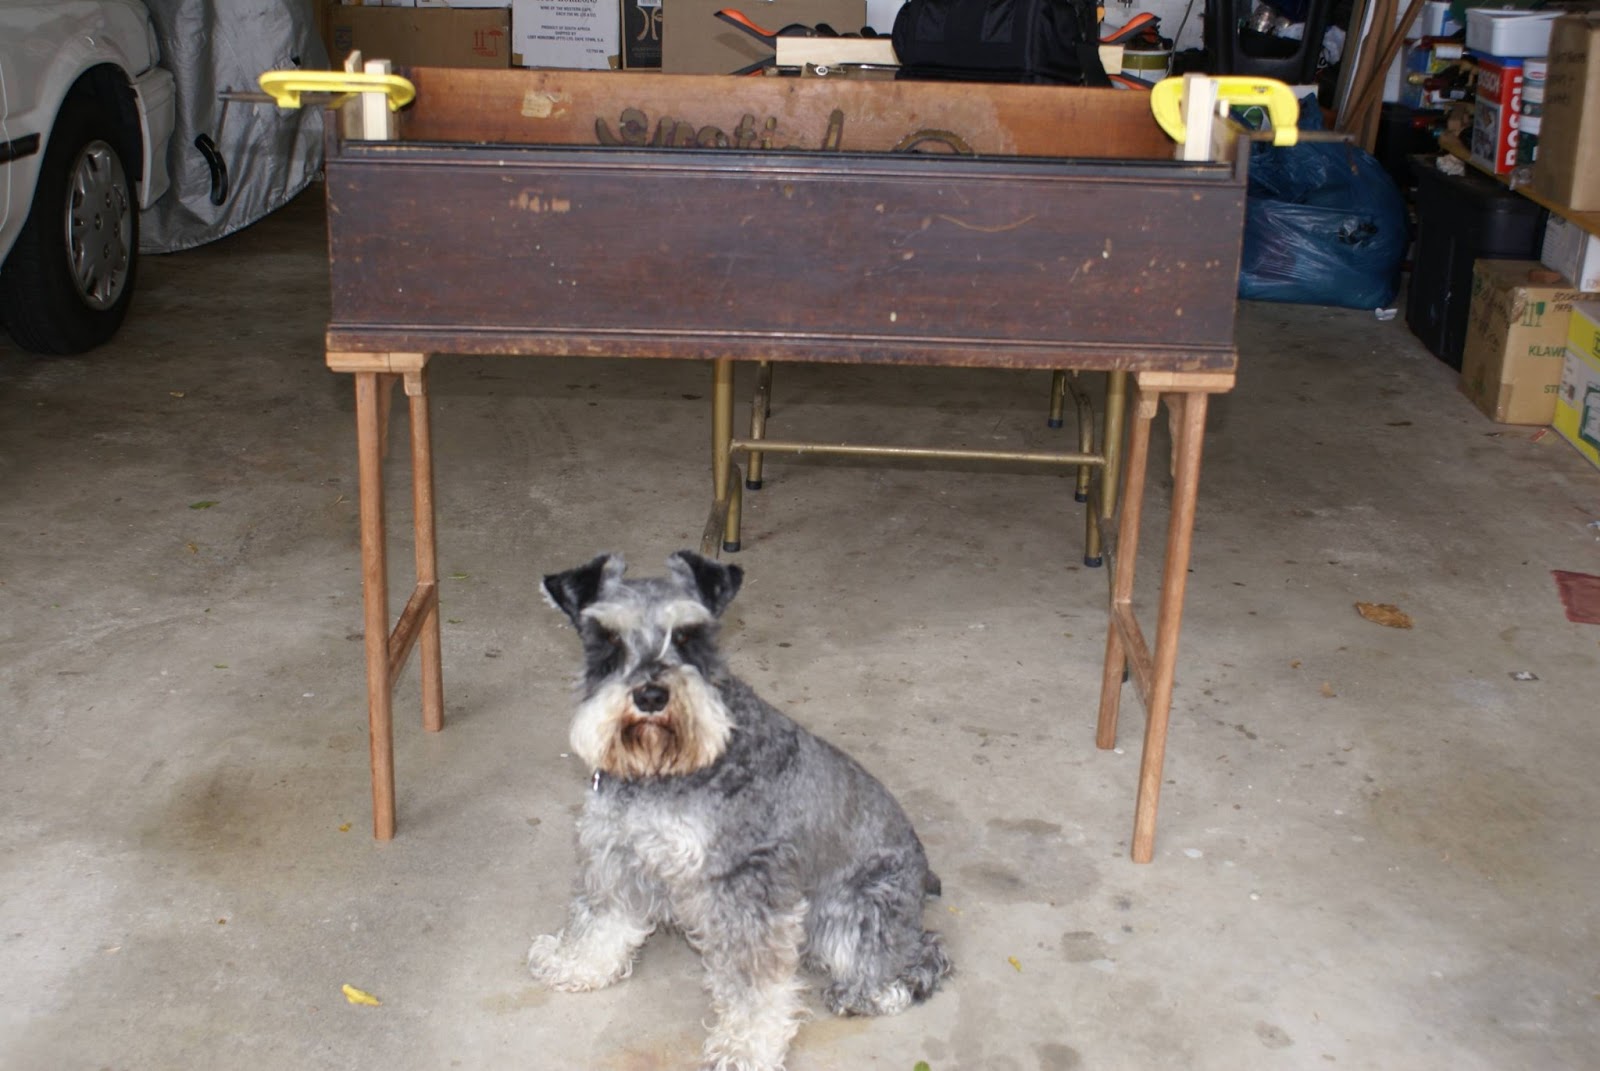
The real problem sat between the two newly assembled legs and is covered in fur, is very curious and prone to bouts of extreme hyper-activity. That and the fact that the dulcitone's new home would be on a very springy wooden floor lead us to want to slightly over-compensate on the rather top heavy instrument's stability.
We made a decision to steer away from the classic original design and introduced a cross bar that could be easily removed to get a bit more rigidity when standing upright.

The design decision was rather fortuitous as the refashioned damper pedal ended up being attached to this cross bar. This, in my opinion, was a vast improvement on the original design both from an aesthetic and practical standpoint.

As is evident from some of the preceding photographs, the exterior has a polished shine to it, so although this is described far better elsewhere on the web, I will briefly describe the French polish process.
This involves first very carefully and smoothly sanding all of the instrument's wooden surfaces, followed by the application of literally hundreds of layers of alcohol dissolved shellac in order to produce a mirror like, "tiger's eye effect" sheen out of the wood.
We opted for an orange/brown shellac mostly due to availability, although would perhaps have preferred a darker hue.

Not all shellac is created equal. Some has a higher wax content which means you need to add less olive oil for lubrication when applying to the wood. The wax buildup rises to the surface of the wood and can be cleaned of with some alcohol charged gauze.
A 2oz solution of shellac was mixed and applied with a cotton pad which housed a gauze core. First planar motions followed by more random figure of eights and circular motions are used to apply micron thin layers of shellac to the wood surface. The odd few drops of olive oil can be used for lubrication every now and then, if needed.
Optionally, tiny amounts of FFF-grade pumice powder can be used to work into the wood pores for a really smooth finish. The pumice behaves both as a filler and as a slight abrasive to encourage wood and shellac particles into small pores in the wood surface.
We struggled to purchase pumice powder in small enough quantities (50kg!!) so we opted to work a pumice stone with a file in order to get powder. Whether this was fine enough or whether it is really worth going the pumice route (for this type of project) is questionable. Our experience, using the materials we had at our disposal, was somewhat mixed.
After 40 or so sessions of shellac application, with each session adding multiple layers, you start to see a finish that is both pleasing to eye and fingertip. Final polishing is preceded by fine sanding with 1200 grade sandpaper in order to smooth out any irregularities.
All of the above steps need to take place in a dust free environment with lots of good light so as to prevent and identify blemishes and uneven application as soon as possible.
The final polishing is done with a 1oz solution so just add the same amount of alcohol into the bottle of solution you have. A few applications should be sufficient to finish of the job.

You should just be able to make out the leather belt we added to the base to secure the folded legs during transportation.
No comments:
Post a Comment